


Installing dimming film for windows is a practical and innovative way to enhance the functionality and aesthetics of your space. As a leading supplier of high - quality dimming films for windows, I'm excited to share a comprehensive guide on how to install this remarkable product.
Understanding Dimming Film
Before we start the installation process, it's essential to understand what dimming film is and its types. Dimming film, also known as switchable film, can change its transparency from opaque to transparent with the application of an electric current. There are several types of dimming films available, including the PDLC Smart Laminated Film, PDLC Smart Glass, and PDLC Switchable Smart Back Film. Each type has its unique features and applications.
The PDLC Smart Laminated Film is a popular choice as it can be easily applied to existing glass surfaces. It offers excellent privacy control and light management. The PDLC Smart Glass, on the other hand, is integrated during the glass manufacturing process, providing a seamless and durable solution. And the PDLC Switchable Smart Back Film is ideal for retrofit projects, as it can be installed on the back of the glass.
Tools and Materials Needed
- Dimming film: Make sure to choose the right type and size according to your window dimensions.
- Cleaning supplies: You'll need a mild glass cleaner, a soft cloth, and a squeegee to clean the window surface thoroughly.
- Scissors or a utility knife: For cutting the film to the correct size.
- Measuring tape: To accurately measure the window dimensions.
- Ruler or straight edge: To ensure straight cuts.
- Alignment tape: Helps in positioning the film correctly on the window.
- A power supply unit: Compatible with the dimming film to provide the necessary electric current.
Step - by - Step Installation Process
Step 1: Measure the Window
Use a measuring tape to measure the width and height of the window where you plan to install the dimming film. Measure twice to ensure accuracy. Add a small margin (about 1 - 2 cm) to each dimension to allow for trimming.
Step 2: Clean the Window
A clean window surface is crucial for a successful installation. Spray the mild glass cleaner on the window and wipe it with a soft cloth. Use a squeegee to remove any excess moisture and ensure a streak - free finish. Pay special attention to the edges and corners of the window to remove any dirt or debris.
Step 3: Prepare the Dimming Film
Lay the dimming film on a clean and flat surface. Use a ruler or straight edge and scissors or a utility knife to cut the film according to the measurements you took earlier. Make sure the cuts are straight and precise.
Step 4: Position the Film
Peel off a small corner of the protective backing of the dimming film. Use alignment tape to mark the position on the window where you want to install the film. Slowly start to apply the film to the window, ensuring that it is straight and aligned. As you continue to peel off the backing, smooth out any air bubbles using a squeegee. Start from the center and work your way out towards the edges.

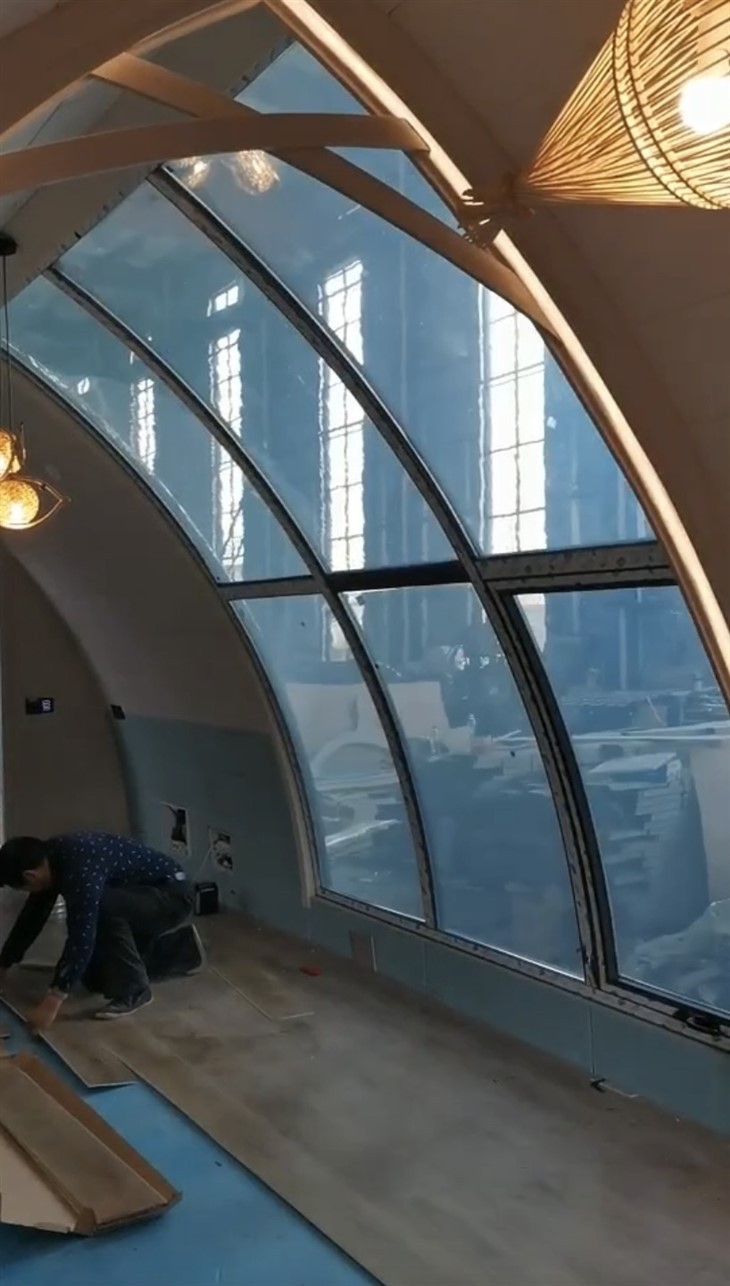
Step 5: Remove Air Bubbles
If you notice any air bubbles trapped under the film, use a needle to make a small puncture at the edge of the bubble. Then, use the squeegee to push the air out through the puncture. Be careful not to damage the film while doing this.
Step 6: Trim the Excess Film
Once the film is properly applied and all air bubbles are removed, use a utility knife to trim the excess film along the edges of the window. Make sure the edges are clean and neat.
Step 7: Connect the Power Supply
Locate the electrodes on the dimming film. Connect the wires from the power supply unit to the electrodes. Make sure the connections are secure. Follow the manufacturer's instructions carefully when connecting the power supply to avoid any electrical hazards.
Tips for a Successful Installation
- Work in a clean and dust - free environment to prevent dirt from getting trapped under the film.
- If possible, have a second person assist you during the installation to ensure a smooth application.
- Test the film before finalizing the installation to make sure it is functioning properly.
- Avoid applying the film in extreme temperatures, as this can affect the adhesion.
Maintenance of Dimming Film
After the installation, proper maintenance is essential to ensure the longevity and performance of the dimming film. Clean the film regularly with a soft cloth and a mild glass cleaner. Avoid using abrasive cleaners or rough materials, as they can scratch the film. If the film gets wet, dry it immediately to prevent water damage.
Applications of Dimming Film
Dimming film has a wide range of applications in both residential and commercial settings. In residential buildings, it can be used in bedrooms, bathrooms, and living rooms to provide privacy when needed. It can also help in reducing glare and heat from the sun, improving energy efficiency.
In commercial settings, dimming film is commonly used in conference rooms, offices, and hospitals. In conference rooms, it can create a private and professional environment during meetings. In hospitals, it can be used in patient rooms to provide privacy for the patients.
Conclusion
Installing dimming film for windows is a relatively straightforward process that can transform the functionality and appearance of your space. As a supplier, we are committed to providing high - quality dimming films and excellent customer service. If you are interested in purchasing our dimming films for your window applications, we welcome you to contact us for a detailed discussion on your requirements. Our team of experts will be happy to assist you in choosing the right product and provide you with any technical support you may need during the installation process.
References
- Manufacturer's installation guides for dimming films
- Industry - standard best practices for window film installation


